Creating Rich Snippets For Your Blog Posts In 3 Easy Steps

Some different types of elements, such as ratings and images, can be sometimes found beside text when you Google something. These are rich snippets that help bring better traffic to your website by drawing extra attention. The digital marketing company in Ahmedabad suggests that everyone can create rich snippets in some simple steps. Schema markup can be added to any number of pages and to whichever page you want, manually. If your blogging platform is WordPress, the below three steps will help you install All In One Schema Rich Snippets Plugin.
Installing And Configuring The Plugin
[Image Courtesy:marketingsignals.com]
First of all, login to your dashboard and select the option of Plugins. Now choose Add New Tab and use the search bar to find All In One Schema Rich Snippets plugin. Install and activate the plugin.
After activation, the welcome page will appear. Jump to the configuration tab to see the available options for rich snippets.
The tabs have some markups you can add to your content while generating rich snippets. For example, for cooking-related snippets, you can choose the recipe option. Select and save the changes.
Create Rich Snippet For Any Of Your Blog Post
[Image Courtesy:greenhatpro.com]
You can add rich snippets to any blog post, and you can choose as many as posts you want one by one. The plugin has to be done manually. Choose a blog post that you would like to add a snippet.
Open the editor and reach the end of the page where you will find the Configure Rich Snippet Option. Find out the category of your post, like it is a blog or article.
After selecting the post category, you will see further options. For example, options like article image, article name, short description, author name, etc., will be there.
You can fill as many fields as you want. Available options can vary depending on the type of post, and you are the one to consider which are essential to be filled. Some of them will be quite simple, like the title will be already there in the post.
Test Your Work
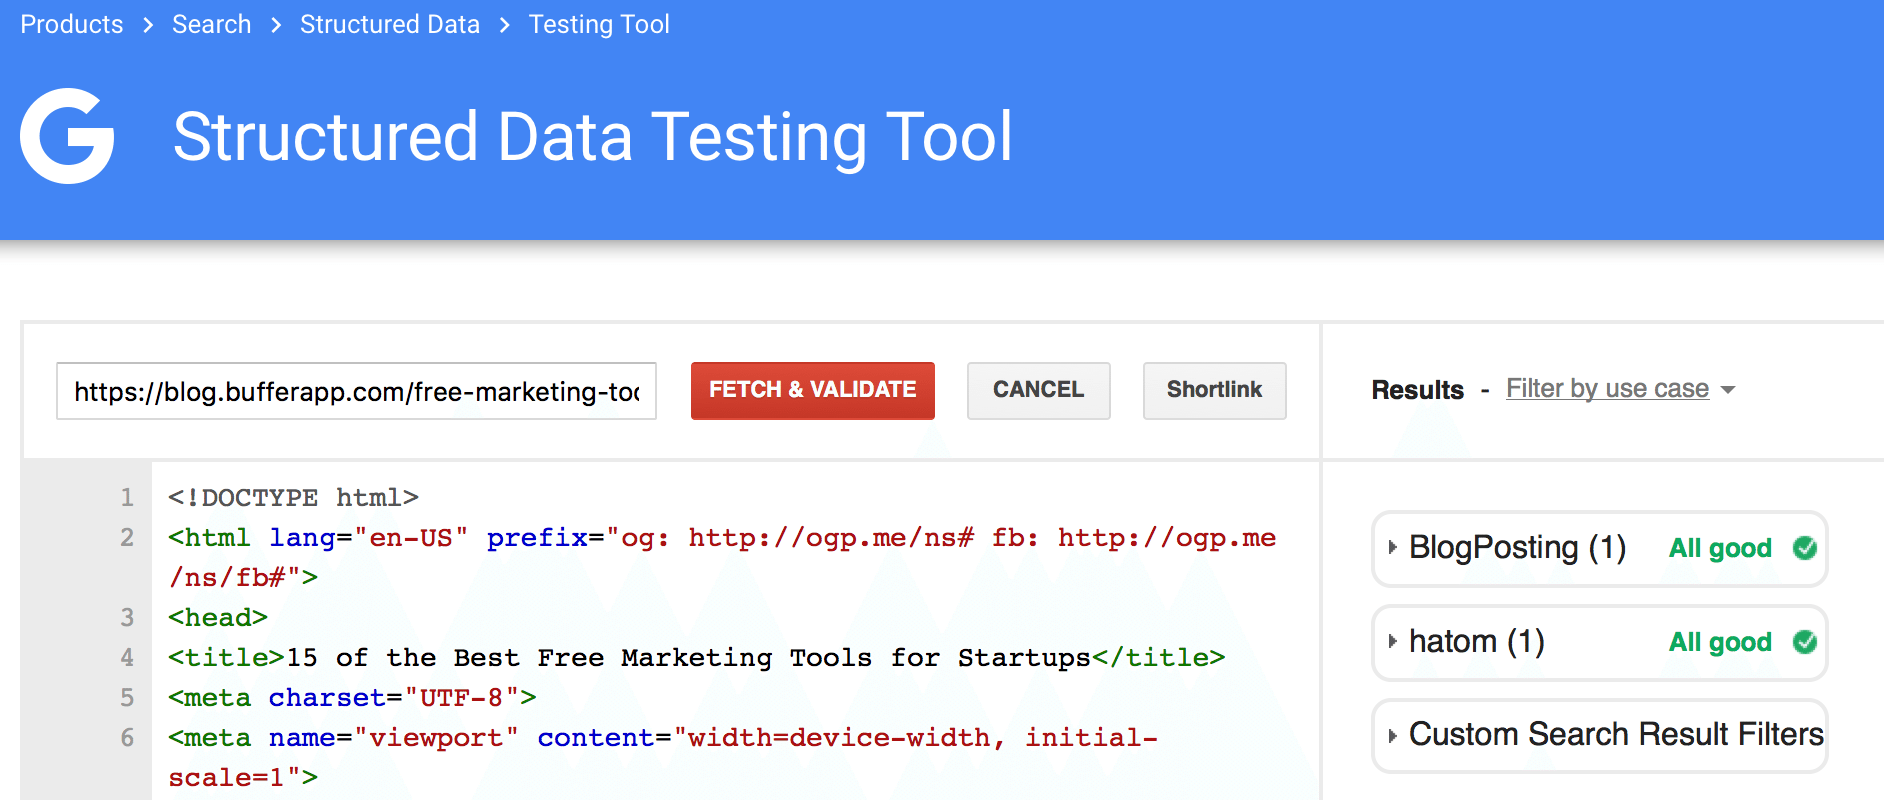
[image Courtesy:buffer.com]
After generating rich snippets for one of your posts, the next step is to check if it is working the way you wanted it to. There is a tool named Google Structured Data Testing Tool which can be used to test your rich snippets.
Type the URL of your post, and the tool will check if the markup has been successfully added to the blog post or not. When the tool finds some problems, a preview option page will appear. When you click on the preview option, the rich snippet added by you will appear the way it will appear in Google search results.
If everything looks good, you can save and work on other posts you want to add the schema markup. You can detect errors and edit them if the tool shows something that you would not like to display in your rich snippets.
It is advised that you must add rich snippets to all your most popular posts to drive more traffic. If you are working on the niche which is good to create rich snippets, there is no way you should avoid them. With a good meta description, the snippets can bring better traffic to your website.


